How Can We Help?
Deposits
Deposits Overview
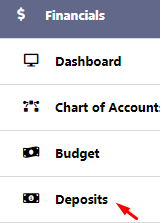
To effectively manage deposits within RunHOA Financials, users can navigate to the ‘Deposits‘ section.
Here, you can record and monitor all deposit transactions associated with your HOA’s financial activities.
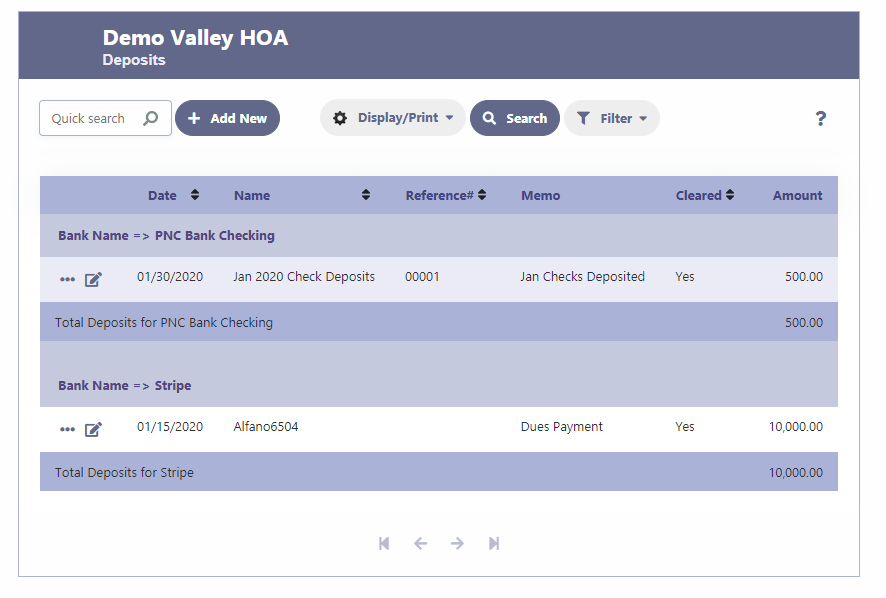
Deposits Grid
- The grid presents a structured view of all deposit entries, displaying key details for each transaction.
- To record a new deposit , click ‘Add New‘. To edit details of an existing deposit, use the edit icon next to the relevant entry.
- Quick search: Allows you to quickly find specific entries or information within the page you are viewing.
- Display/Print: Provides options to display the current view in various formats or print the information.
- Search: An additional tool to conduct a more detailed search within the system.
- Filter: The “Filter” button allows you to refine the data displayed on the screen. By clicking on it, you can choose to sort the information based on specific columns, arrange the data in a particular order, or view a summary of the information. This feature helps to customize the view to your preference, making it easier to focus on particular details or get a broad overview as needed.
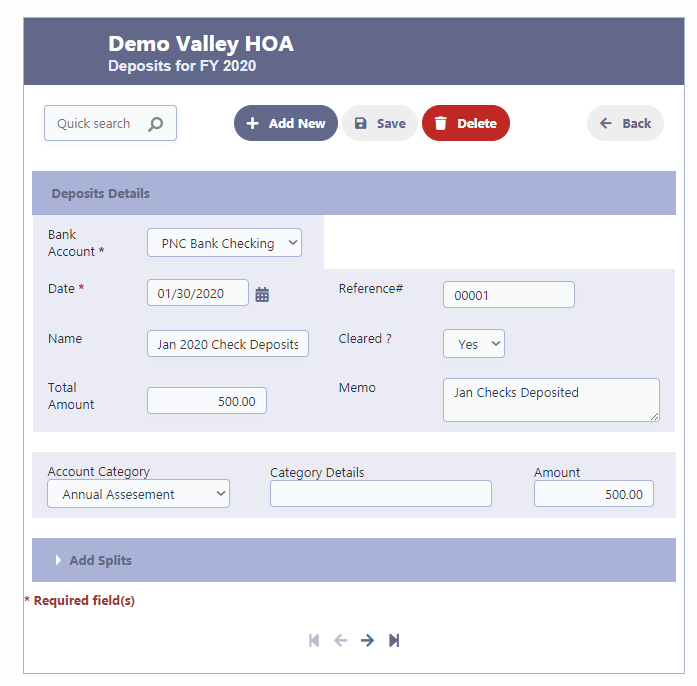
Adding a Deposit
- Bank Account: Select the relevant bank account for the deposit.
- Date: Enter the date of the deposit.
- Reference#: Input any reference number, such as a deposit slip number.
- Name: Provide a descriptor, like “Jan 2020 Check Deposits.”. Enter or Select the name of the person or organization the deposit amount is received from.
The magnifying glass icon will display the list of chairs. You can enter more contacts by clicking on Add New.
Click on Select to select the Contact Name - Cleared?: Indicate whether the deposit has cleared the bank. Bank Reconciliation will look only for cleared amounts to reconcile.
- Total Amount: List the total amount deposited.
- Account Category: Choose the appropriate income account, such as ‘Annual Assessment’.
- Memo: Add any additional notes pertinent to the deposit.
- Add Splits: For transactions that span multiple categories, you can allocate amounts accordingly by selecting ‘Add Splits’. This function allows you to distribute the deposit across various categories as needed.
- Click on Save to save the deposit transaction.
- Click on Delete to delete the deposit transaction.
Click on Summary to get a summarized view of your deposit transactions.
Clicking on Summary will give you a summarized view of your Bank deposits as well as a graphical representation
