How Can We Help?
Create Users
Overview
This section guides you through the process of adding a new user to your HOA, Follow the steps below to ensure the user is added correctly and has the appropriate level of access.
Accessing User Management
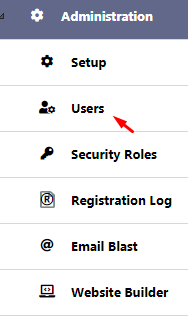
Navigate to the Administation/Users on your RunHOA dashboard.
After determining which individuals will be responsible for specific tasks within RunHOA, you are ready to proceed with setting up their user accounts. RunHOA allows for the creation of an unlimited number of user profiles. Additionally, it is possible to designate multiple users with administrative privileges.. Click on Add New to create a new user.
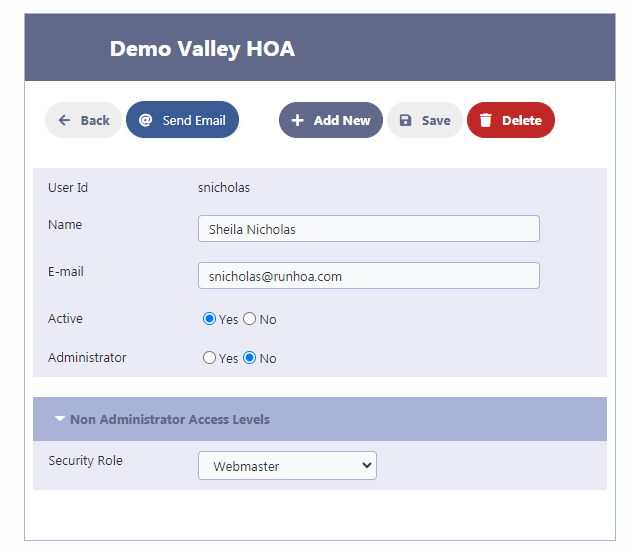
- Filling User Details:
- User Id: Enter a unique identifier for the user, such as ‘snicholas’ for Sheila Nicholas.
- Name: Type in the full name of the user.
- E-mail: Provide the user’s email address. This will be used for all communications and notifications.
- Setting User Status:
- Active: Select ‘Yes’ if the user should have immediate access to the system; choose ‘No’ if the account should remain inactive for the time being.
- Assigning Roles:
- Administrator: Determine if the user should have administrative privileges. Select ‘Yes’ for admins with full system access, or ‘No’ for standard users.
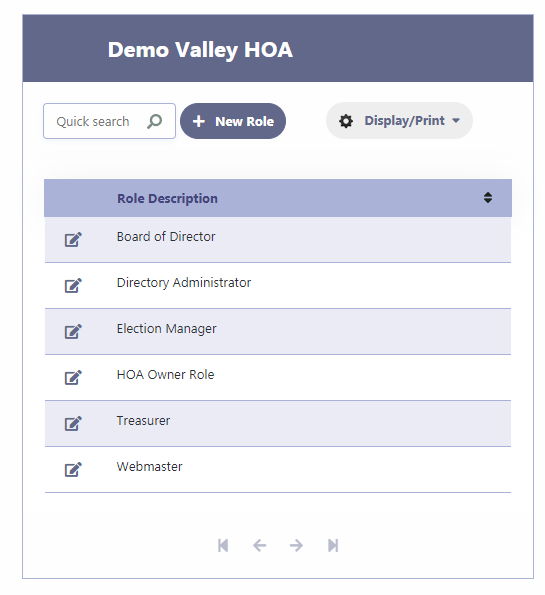
- Security Role: For non-administrators, assign a security role from the dropdown menu, such as ‘Webmaster’. This defines the user’s permissions within the system. You need to create the roles in the Create Security Roles module.
- Saving the User Profile:
- After filling in all the details, click on the ‘Save‘ button to create the user account.
- If you need to remove all entered data and start over, click on the ‘Delete‘ button.
- Additional Options:
- Use the ‘Back’ button to return to the previous screen without saving.
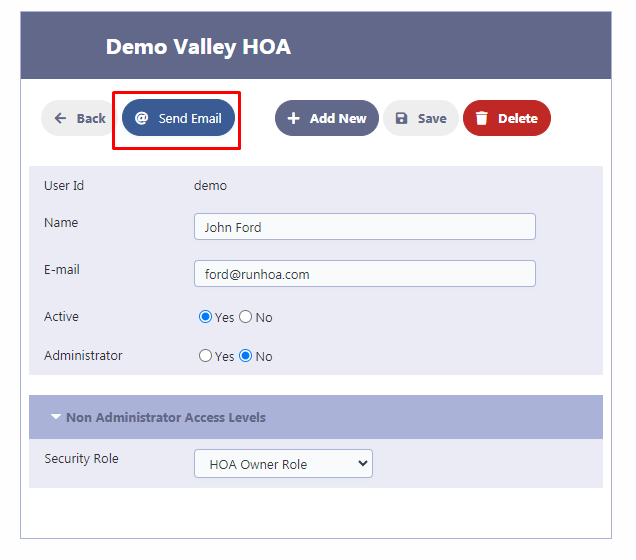
- To send an email to the user, click on the ‘Send Email‘ button after saving their profile.
Tips:
- Ensure that email addresses are entered correctly to avoid communication issues.
- Regularly review and update user access levels to maintain system security.
User Examples
Suppose the following individuals have been allocated roles within certain committees:
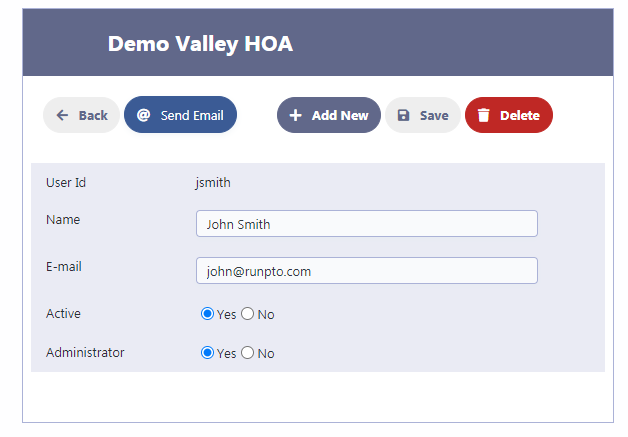
- John Smith has been appointed as the directory administrator.
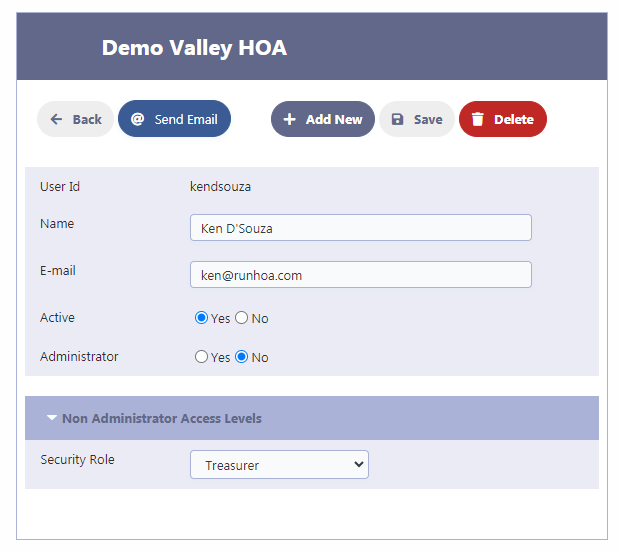
- Ken D’Souza has taken on the role of treasurer.
- Sheila Nicholas has the responsibility of managing the website.
Here is how John Smith has been configured as the Directory Administrator.
Here is how Ken D’Souza has been configured as the Treasurer.
Here is how Sheila Nicholas has been configured as the Webmaster.
Send Email Feature
Once a new user account is established, you have the option to notify the user by clicking on ‘Send Email’. This will send them a message informing them that their User ID and password have been set up.
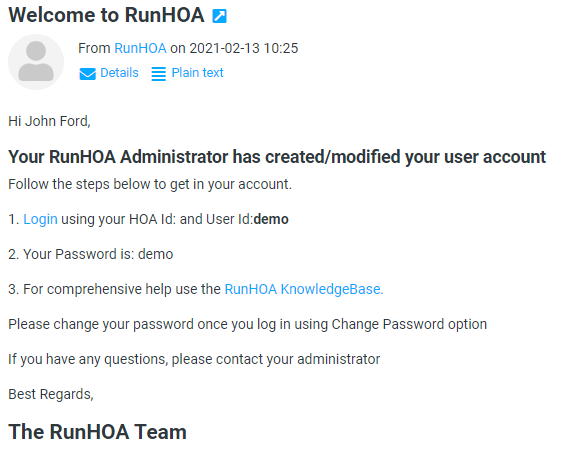
The user will then receive an email notification indicating that an account has been created for them, including their User ID and a temporary password. Upon their first login to the module, they will have the ability to update their password by selecting the ‘Change Password’ feature.
Email Example
Deactivating Users
To restrict a user’s access to RunHOA, you can either set their account to Non Active status or completely remove their user profile.

Generating Mass Users
To generate mass users in RunHOA, follow these steps:
- Navigate to the Users Module:
- Open the Users module in your RunHOA dashboard.
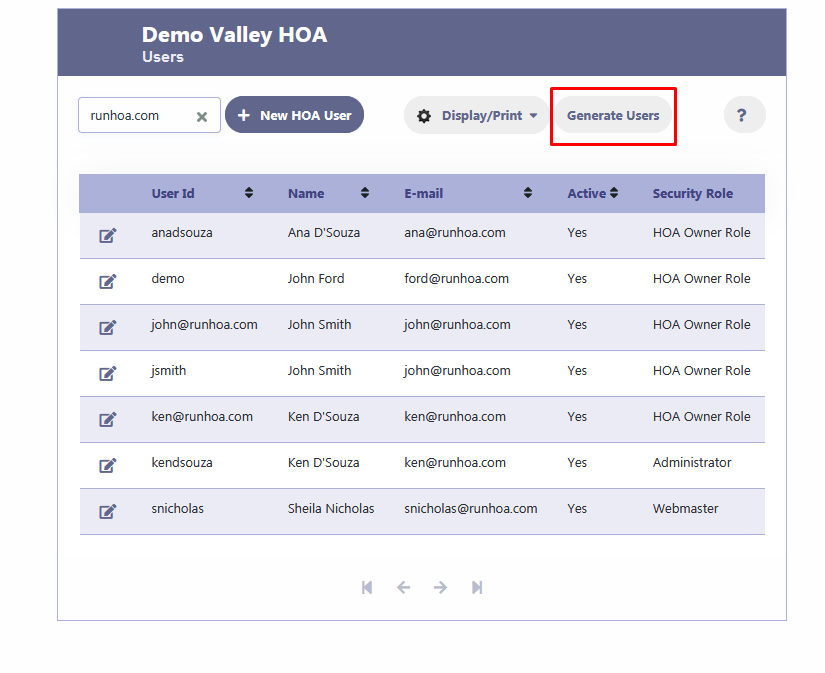
- Click on “Generate Users” Button:
- Locate and click the “Generate Users” button, as highlighted in the Users module interface.
- Select Units:
- You will be presented with a list of units.
- You can select one, many, or all units from the list.
- Use the arrows to move selected units to the right-hand side.
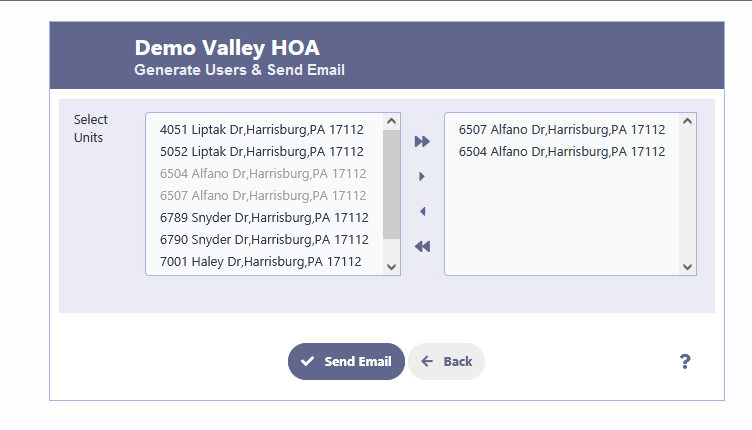
- Generate User Records:
- Once you have selected the desired units, click the “Send Email” button.
- A user record will be created for each selected unit.
- The user ID will be the email address of the unit owner.
- Password Generation:
- Passwords for these new users will be autogenerated.
- Upon login, unit owners will have the option to change their password.
- User Roles:
- All users created through this process will be non-administrators by default and will have the default role set in Administration/Setup
By following these steps, you can efficiently create user accounts for multiple unit owners in RunHOA.